Having a well-designed store credits page makes it easy for customers to understand their credit balance and expiration dates. It also encourages them to spend their credits, acting as a powerful loyalty and retention tool for your business.
In this article, we’ll cover the key elements you need to include on your Shopify store’s credits page to optimize it. With the right design and messaging, you can increase customer satisfaction while driving more sales using existing credits.
Recap: What is the Shopify Store Credits Page?

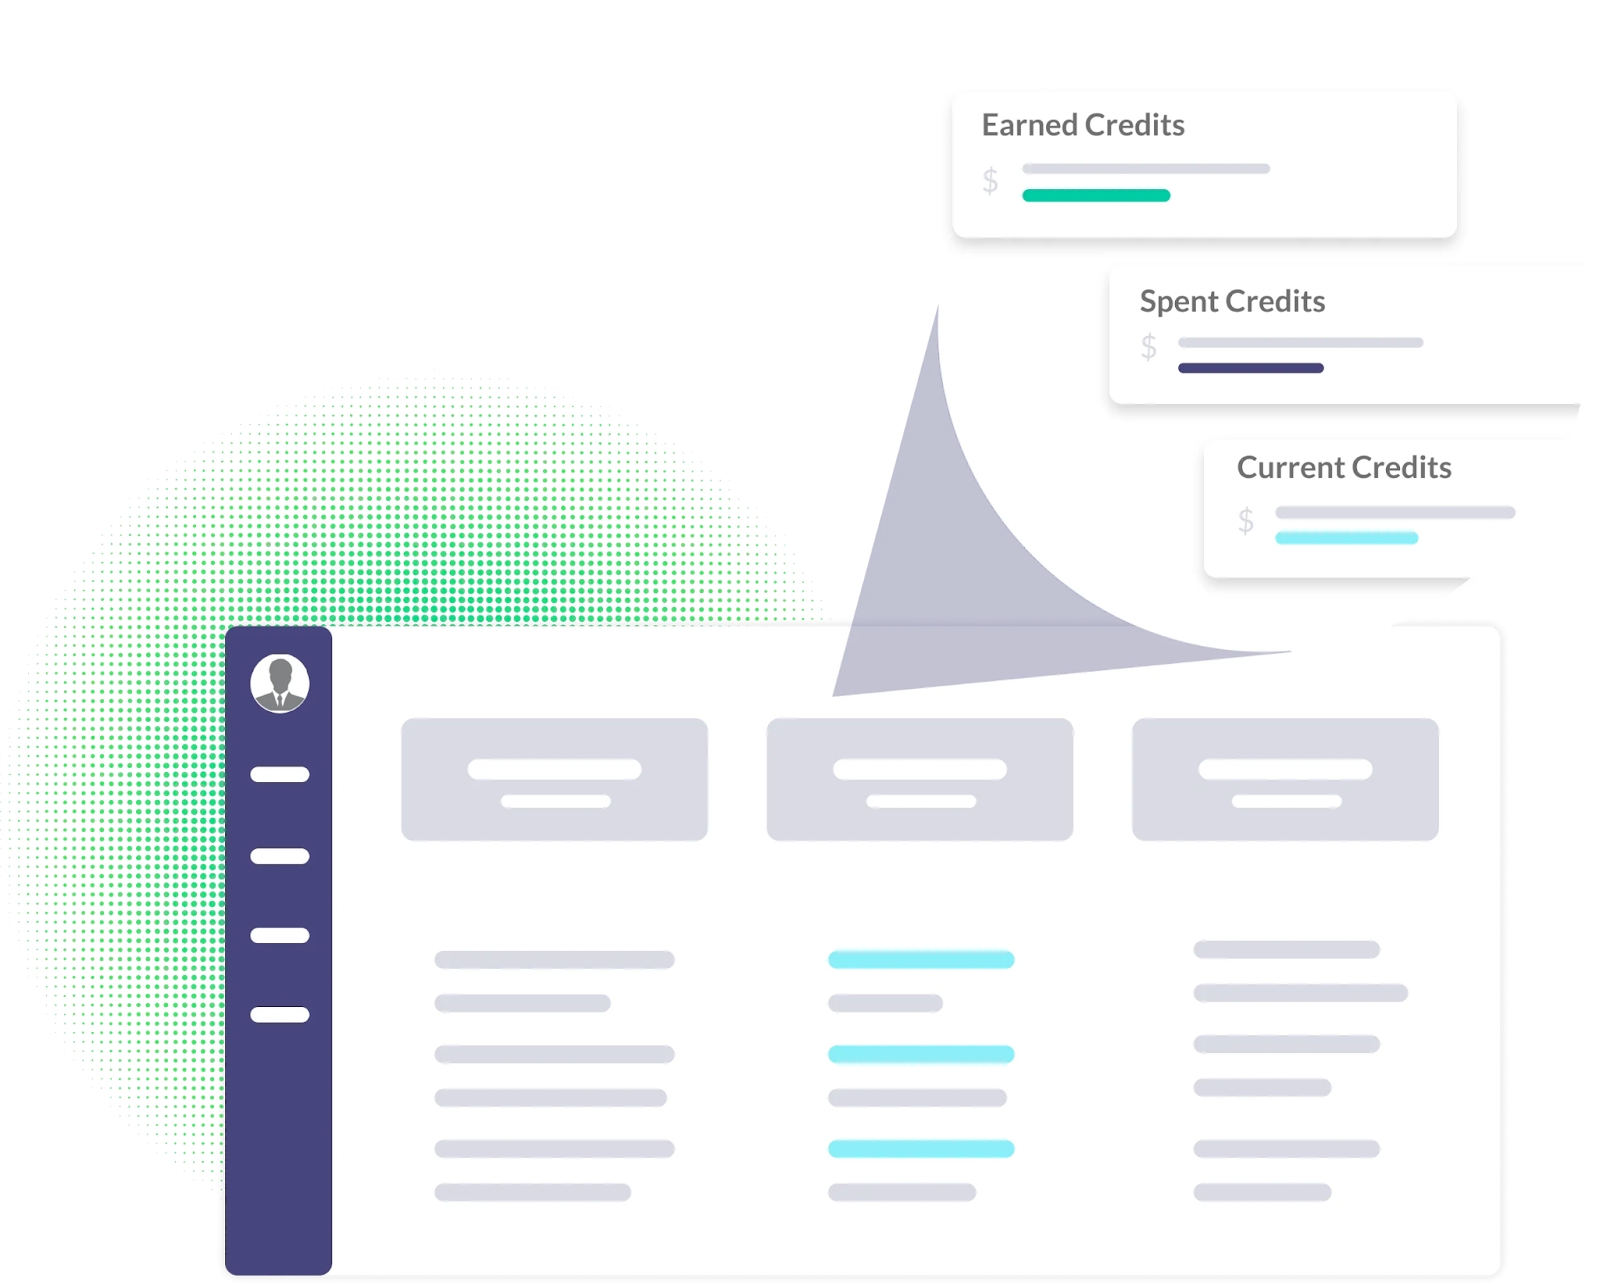
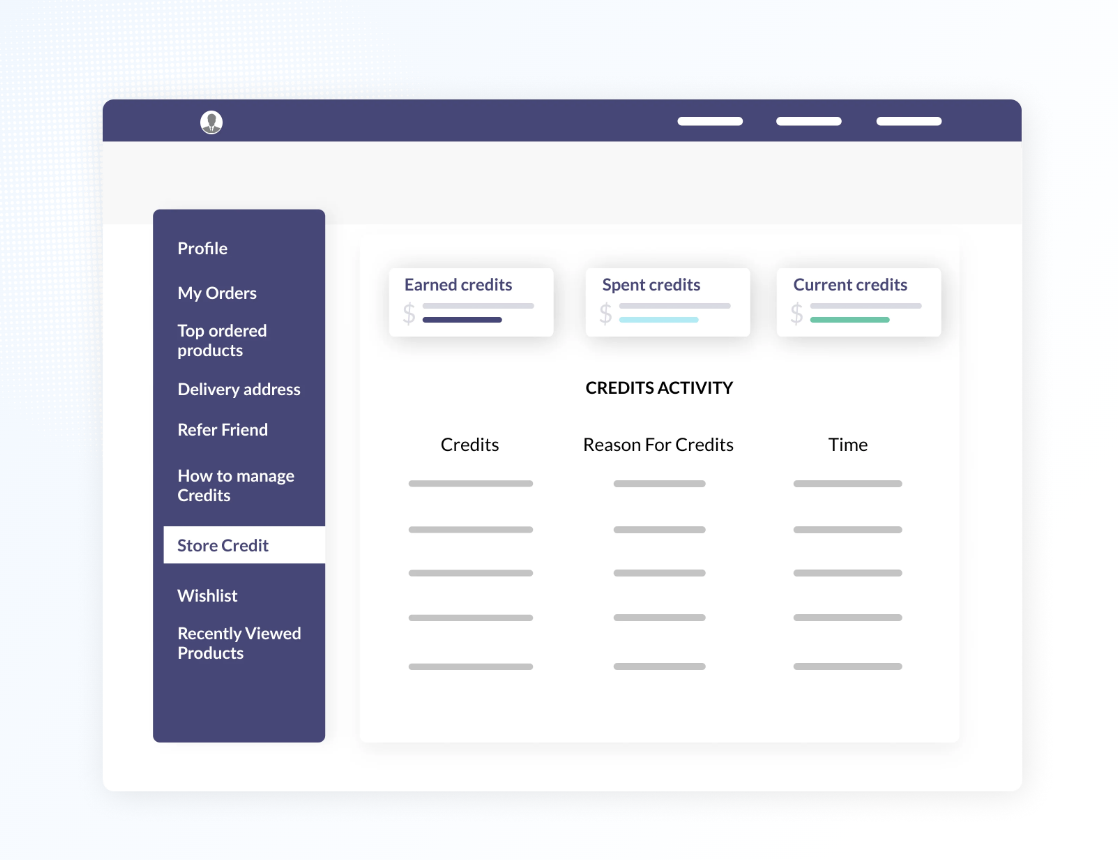
The store credits page allows customers to view their current store credit balance, recent transactions using credits, and expiration details.
Store credits provide customers with a cash-equivalent balance that can be used towards future purchases on your Shopify store. Customers earn store credits through refunds, rewards programs, or compensation provided by your store.
Why Have a Store Credits Page?
Having a dedicated Shopify store credits page allows customers to easily see their current balance of store credits available to spend on future purchases.
Displaying their credit total also encourages customers to actually put those credits to use, rather than letting them sit unused and forgotten in their accounts.
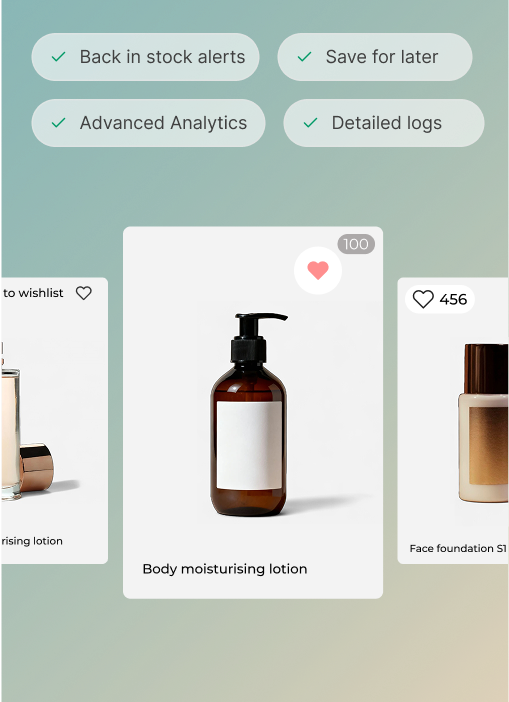
Offering a store credits section as part of your customer account pages contributes to a smooth, user-friendly experience. Customers appreciate the convenience of being able to view and manage their credits in one place.
A visible credit balance gives them confidence in spending those credits, knowing they have funds available. It also demonstrates that you value your customers by providing transparency into their account status.
Overall, a well-designed store credits page benefits both your customers and your business. Customers can conveniently track and use their credits, while you generate more sales by encouraging credit usage. It’s a feature that contributes to good UX and customer satisfaction.
7 Shopify Store Credits Page Design Tips You Cannot Miss Out On
When it comes to optimizing your Shopify store credit page design, there are several key tips to keep in mind. These include:
1. Page Location
Typically, the store credits page is located under the “My Account” section of a Shopify store. This keeps it easily accessible for customers in their account dashboard.
However, the store credits page can also be linked in the top navigation bar. This increases visibility and encourages customers to check and redeem their credits more frequently. Some stores may even use a top navigation link like “My Credits” to directly take customers to the store credits section.
The most important factor is ensuring customers can find and access their credit balance seamlessly.
Whether under “My Account” or the top navigation, the store credits page should have a prominent placement. Don’t bury it too deep in the account section. The easier it is for customers to find their credits, the more likely they are to use them.
2. Prominently Display Credit Balance
One of the most important elements of your store credits page is to clearly display the customer’s current credit balance. This should be in a large, highly visible font at the top of the page.
Seeing their available balance front and center makes it easy for customers to understand how much they have to spend in your shop. It also encourages them to use their credits, so they don’t forget about leftover amounts sitting in their account.
Some tips for an effective credit balance section –
- Use a large, bold font size like 20px or bigger. You want the dollar amount to stand out.
- Format the number in a way that’s easy to read, like $135.00. Avoid cluttering it with text.
- If the balance is $0, display a message indicating the account has no credits.
- Show the balance toward the top of the page before listing individual credits or transactions.
- Allow the balance to update in real time if credits are used or added while viewing the page.
- Consider using a credit card-style display with the balance, some graphics, and the customer’s name.
Test different font sizes, styles, and locations and see which works best at getting customers to notice their balance.
Prominently displaying the credit balance makes the existing funds top of mind for your customer while viewing their account. This encourages them to proceed to spend those credits in your shop.
3. Make it Easy to Spend Credits
You want customers to actually use their credits, so make sure you link directly from the store credits page to shopping pages where they can spend them.
Include clear call-to-action buttons that say “Shop Now” or “Spend Credits” and link to relevant product pages, special offers, or your main shopping page. Customers will appreciate the convenience.
Keep the path to spending credits as short as possible. Don’t make customers hunt around your site trying to figure out how to use their credits. Direct links get them shopping with their credits faster.
Some additional tips for easy credit spending –
- Link to popular or best-selling items that are eligible for credits. Drive customers to the products you most want them to buy.
- If you run sales or promotions for store credit holders, link directly to those pages.
- Remind customers if credits expire or have other limitations like minimum spending. Don’t let credits go unused.
- Use urgent messaging if credits are expiring soon. Prompt customers to spend them now before time runs out.
- Test different calls-to-action and links to optimize credit usage. Track results to improve over time.
With convenient links and clear calls to action, you’ll make it incredibly easy for customers to spend their credits on your products. That benefits your business and keeps customers happy.
Recommended read: How to enable earning and spending of Shopify store credits
4. Show Recent Credit Transactions
One important design element for your store credits page is displaying recent credit transactions. Showing the last 5 credit transactions helps customers see how they have earned or spent credits recently.
For each transaction, display key details like –
- Date of transaction
- Whether credits were earned or spent
- Number of credits earned/spent
- Description of how credits were earned or spent (e.g. for a purchase, order number)
Displaying recent transactions reinforces the value of the credits to customers since they can see how credits have benefited them through discounts or rewards. It also adds transparency by showing how their credit balance changes over time.
Make sure the transactions are sorted with the most recent first. And only show a digestible number of transactions – displaying too many can overwhelm customers. Sticking to the last 5 transactions provides enough context without overloading the page.
The transaction information can be presented in a simple table or list format. The key is to make it easy to scan and understand each transaction at a glance. Proper formatting brings clarity to the credit activity.
5. Include Expiration Info
If your store credits expire after a set period of time, be sure to clearly indicate the expiration date on the store credits page. You want customers to be aware of when their credits will no longer be valid so they are motivated to use them sooner rather than later.
Display the expiration date prominently next to the customer’s credit balance so it is easily noticed. You can also consider adding expiration information in the credit transaction history so customers know exactly when each credit will expire.
Bonus tip: Send customers email reminders as credits near expiration to prompt them to use credits before time runs out. Remind customers of expiring credits when they add items to their cart or start the checkout process. The key is maximizing awareness of expiration dates so customers fully utilize credits rather than lose them.
6. Cross-Sell Other Products
The store credits page presents a great opportunity to encourage customers to spend more. With a credit balance burning a hole in their pocket, customers will be eager to use it.
Help guide them to products they’ll love by including relevant recommendations right on the page. For example, show –
- Top-selling items in your store
- New arrivals they might have missed
- Products related to their past purchases
- Exclusive deals and promotions
Strategically placed cross-sells incentivize customers to fully redeem their credits, while potentially prompting additional purchases beyond the credit amount. This leads to higher order values and increased revenue for your store.
Select products complementary to your brand and target audience. Display them prominently alongside the credit balance to give a friendly nudge. Phrase the recommendations conversationally, like you’re personally suggesting an item you think they’ll enjoy.
With thoughtful cross-sells on the store credits page, you can boost customer satisfaction while encouraging more spending at the same time.
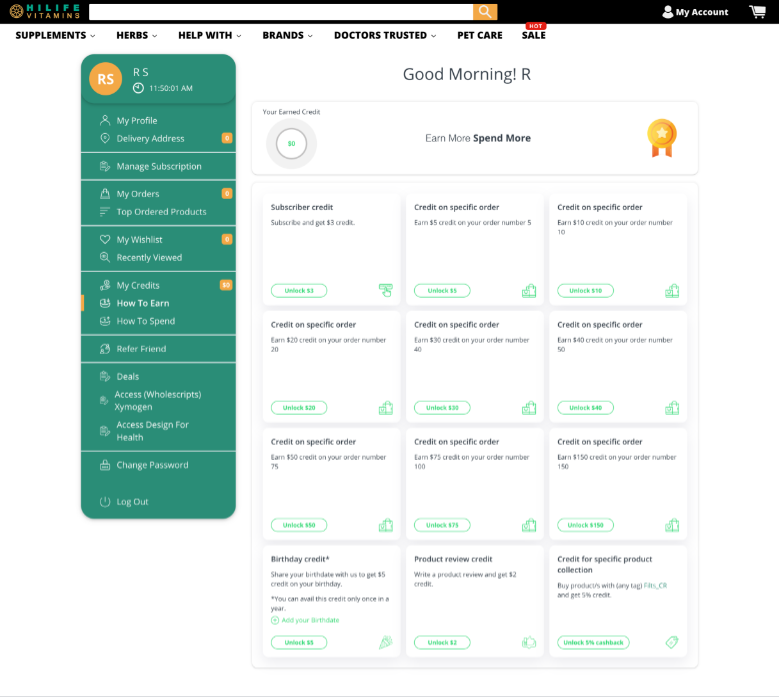
7. Explain How to Earn Credits
Customers will often wonder how they can earn more store credits for future purchases. Explain the various ways credits can be obtained so they are motivated to engage further with your store.
Some common ways to earn store credits include –
- Referral rewards for sharing your store and getting friends to make a purchase. Offer an incentive like $10 in credits.
- Loyalty rewards for repeat purchases. Automate credits after a certain spending threshold is met.
- Signup offers for new email subscribers. Give a $5 credit just for joining your list.
- Reactivation offers if a customer has been inactive. Send an email with a special discount code.
- Incentivize reviews by providing credits in exchange for leaving a product review.
- Host contests and games offering credits as prizes on social media.
- Provide credits as a remedy for a customer service issue to encourage return business.
- Partner with other brands and offer cross-promotional discounts.
- Offer seasonal promotions around holidays and other events.
Providing clear information on all the ways to earn credits gets customers excited to engage more to redeem those credits on future purchases.
Bonus: Shopify Store Credits Page Design Best Practices
By following best practices and making it easy for customers to redeem their store credits, you can effectively increase customer engagement and boost sales.
Let’s explore some key strategies for optimizing your store credit page design–
- Clear and Concise Information: Present the details of the store credits program in a clear and concise manner, including how customers earn and redeem credits.
- Call to Action: Clearly display a call to action button or link that directs customers to the store credits redemption process, ensuring a seamless and user-friendly experience.
- Visual Hierarchy: Use visual cues such as headings, subheadings, and bullet points to create a clear hierarchy of information, making it easy for customers to understand the credits program.
- Personalization: Consider adding personalized elements such as the customer’s name, available credit balance, and a progress bar indicating how much more needs to be earned to unlock a reward.
- Mobile-Friendly Design: Optimize the store credits page for mobile devices to ensure a smooth browsing experience for customers accessing your store from smartphones or tablets.
Recommended read: How to determine the value of store credits
Conclusion
An effective store credits page informs customers of their credit balance and encourages them to actively participate in your credit program.
By following the tips outlined here, you can create a page that boosts engagement and keeps credits top of mind for your customers. Taking the time to optimize the design and content of your store credits page will lead to more credit usage and customer satisfaction.
The idea is to choose a few of the above strategies and combine them with other functions on your customer account page. That way, you can leverage the benefits of all the features on your website.
You’ll need to install an efficient customer account page app such as Flits to get started. The Shopify app allows easy installation and integration of the store credit feature.